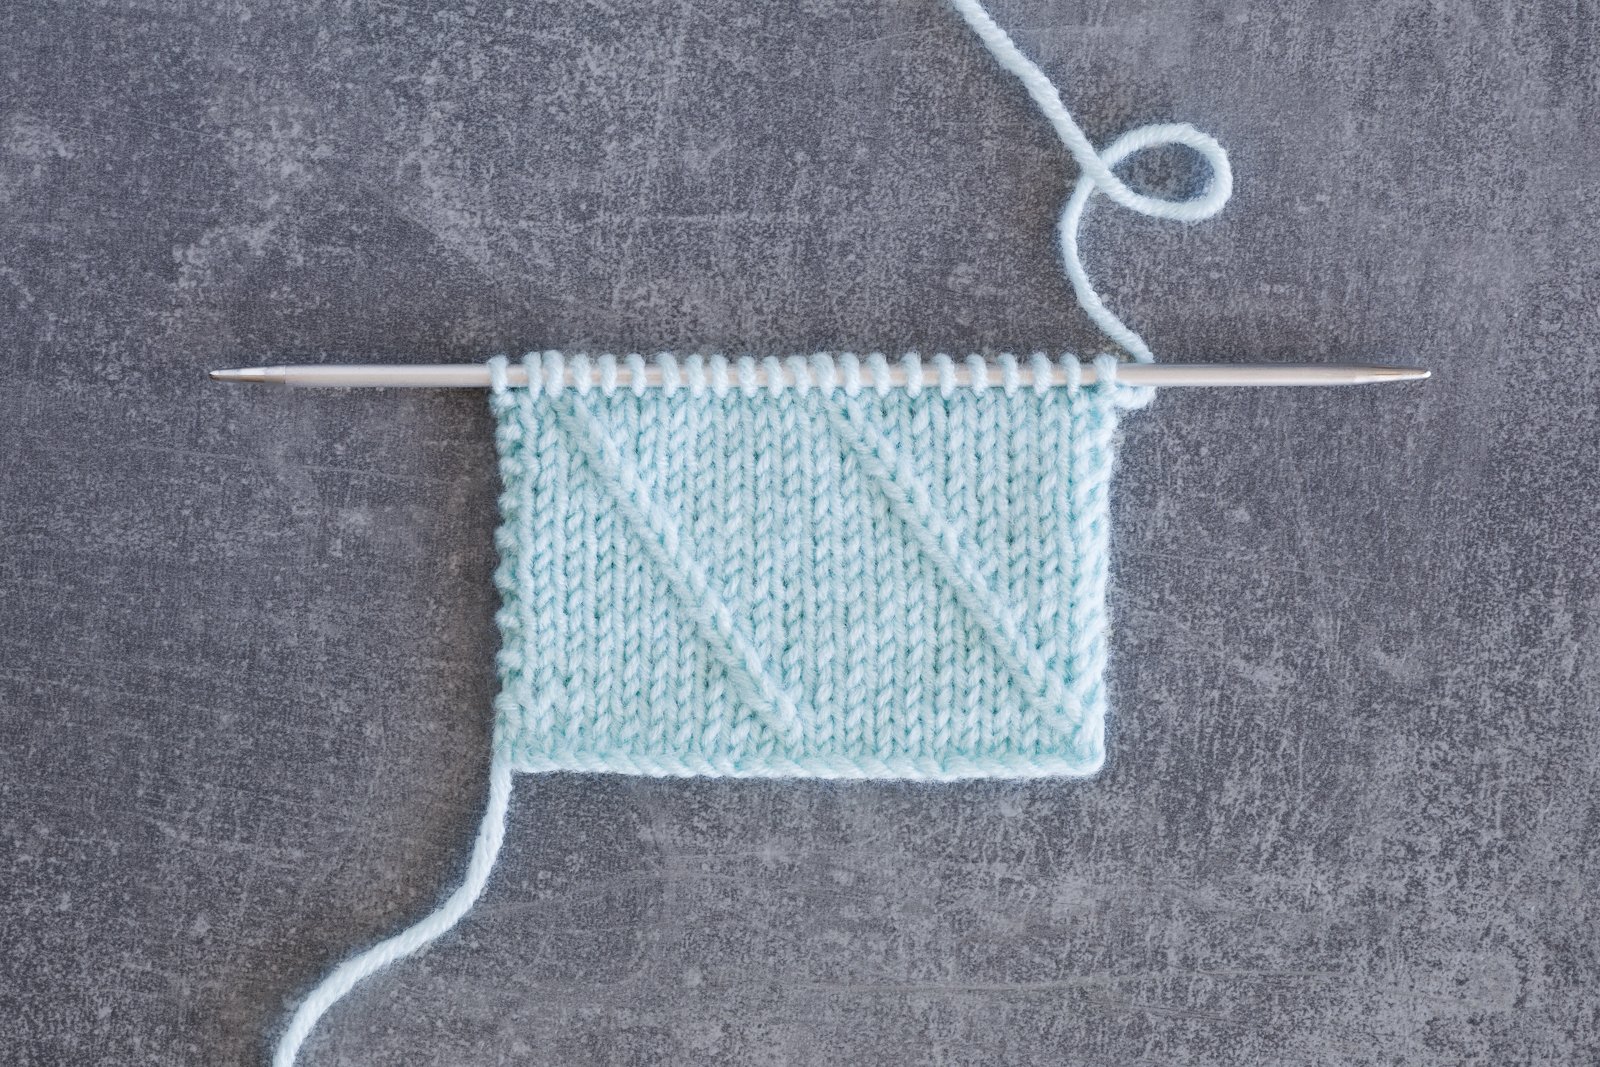
How to knit: Left Twist Stitch
How to knit: Left Twist Stitch
Step by step tutorial
The Left Twist Stitch is a classic knitting technique that creates a subtle twist in your fabric, adding texture similar to small cables without the need for a cable needle. Here’s how to do it:
Left Twist Stitch Instructions (for knitting flat)
Starting position.
1.Slip the next two stitches knitwise and return them to the left needle:
- Insert your right needle into the first stitch knitwise and slip it onto your right needle
- Then insert your right needle into the second stitch knitwise, and slip it as the first stitch.
- Place the slipped stitches back onto the left needle without twisting them.
2.Knit into the back of the second stitch:
- Skip the first stitch on the left needle and insert your right needle into the back of the second stitch from left to right.
- Wrap your yarn around the right needle.
- Pull the yarn through the second stitch but leave it on the left needle.
3.Knit two stitches together through the back loop and slide them off:
- Insert your right needle knitwise into the backs of both stitches on the left needle.
- Wrap the yarn around the right needle and pull it through both stitches.
Wrapping the yarn.
Pulling the yarn through both stitches.
- Slip both stitches off the left needle to complete the left twist.
You’ve now created a left twist!
Mastering the Left Twist Stitch adds subtle texture and interest to your knitting without the need for a cable needle. Learning this technique enhances your knitting skills, inspiring confidence for future projects.
Are you ready to give it a try? I recommend the Liv Fingerless Gloves, Liv Mittens and Emily Fingerless Gloves, which are knitted using this technique.
If you found this tutorial helpful, I would appreciate your support! Consider exploring my carefully designed patterns.
Thank you for joining me in this tutorial! Your support is important to me and helps me continue sharing my passion for knitting.


