How to make: Slip Knot

How to Make: Slip Knot
Step by step tutorial
Making a slip knot is the first step in many knitting and crochet projects. Follow these steps to create a secure and adjustable slip knot.
INSTRUCTIONS
1. Measure and Loop.
Measure a length of yarn based on how wide your project will be.
Make a loop with the yarn, ensuring that the working yarn (the yarn attached to the ball) crosses over the tail end (the loose end).

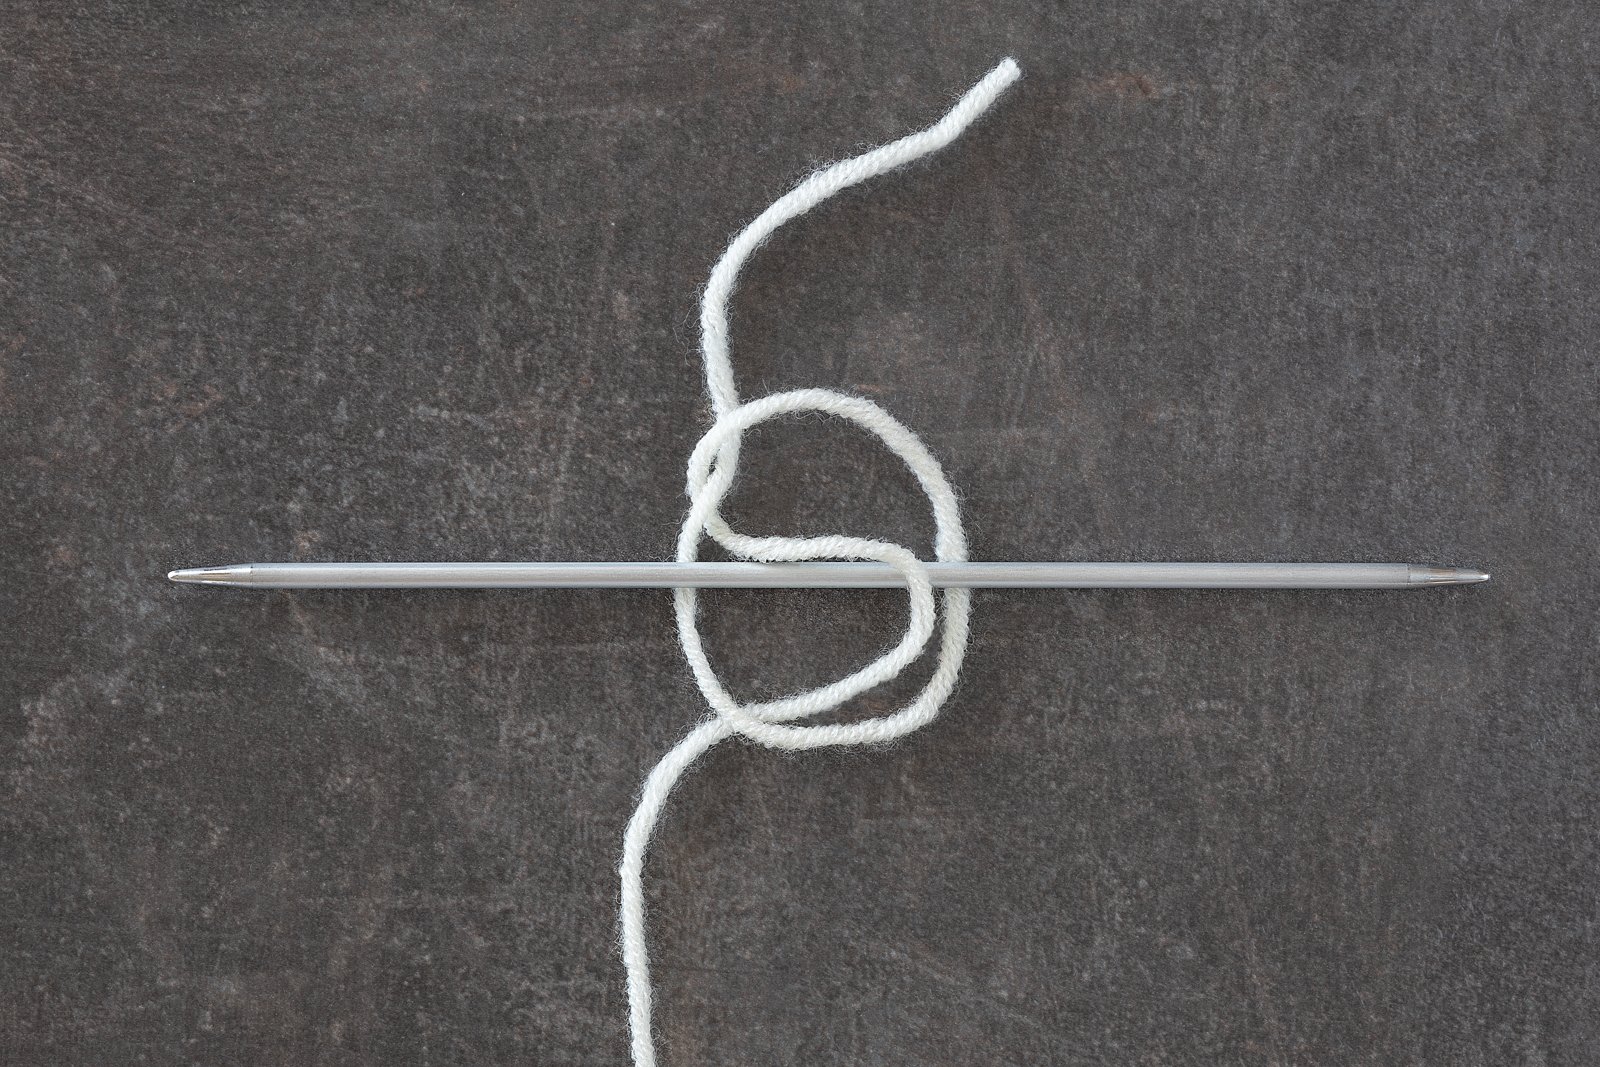
2. Position the Yarn Tail.
Take the working yarn that crosses over the front of the loop.
Bring it behind the loop, creating a pretzel-like shape.

3. Insert the Needle.
Place your knitting needle underneath the bar of yarn in the middle of the loop. This bar is the part of the yarn that crosses underneath the loop.
4. Secure the Yarn.
With the needle in place, grab both ends of the yarn.
Hold the loop steady with your fingers while ensuring the needle stays in place.
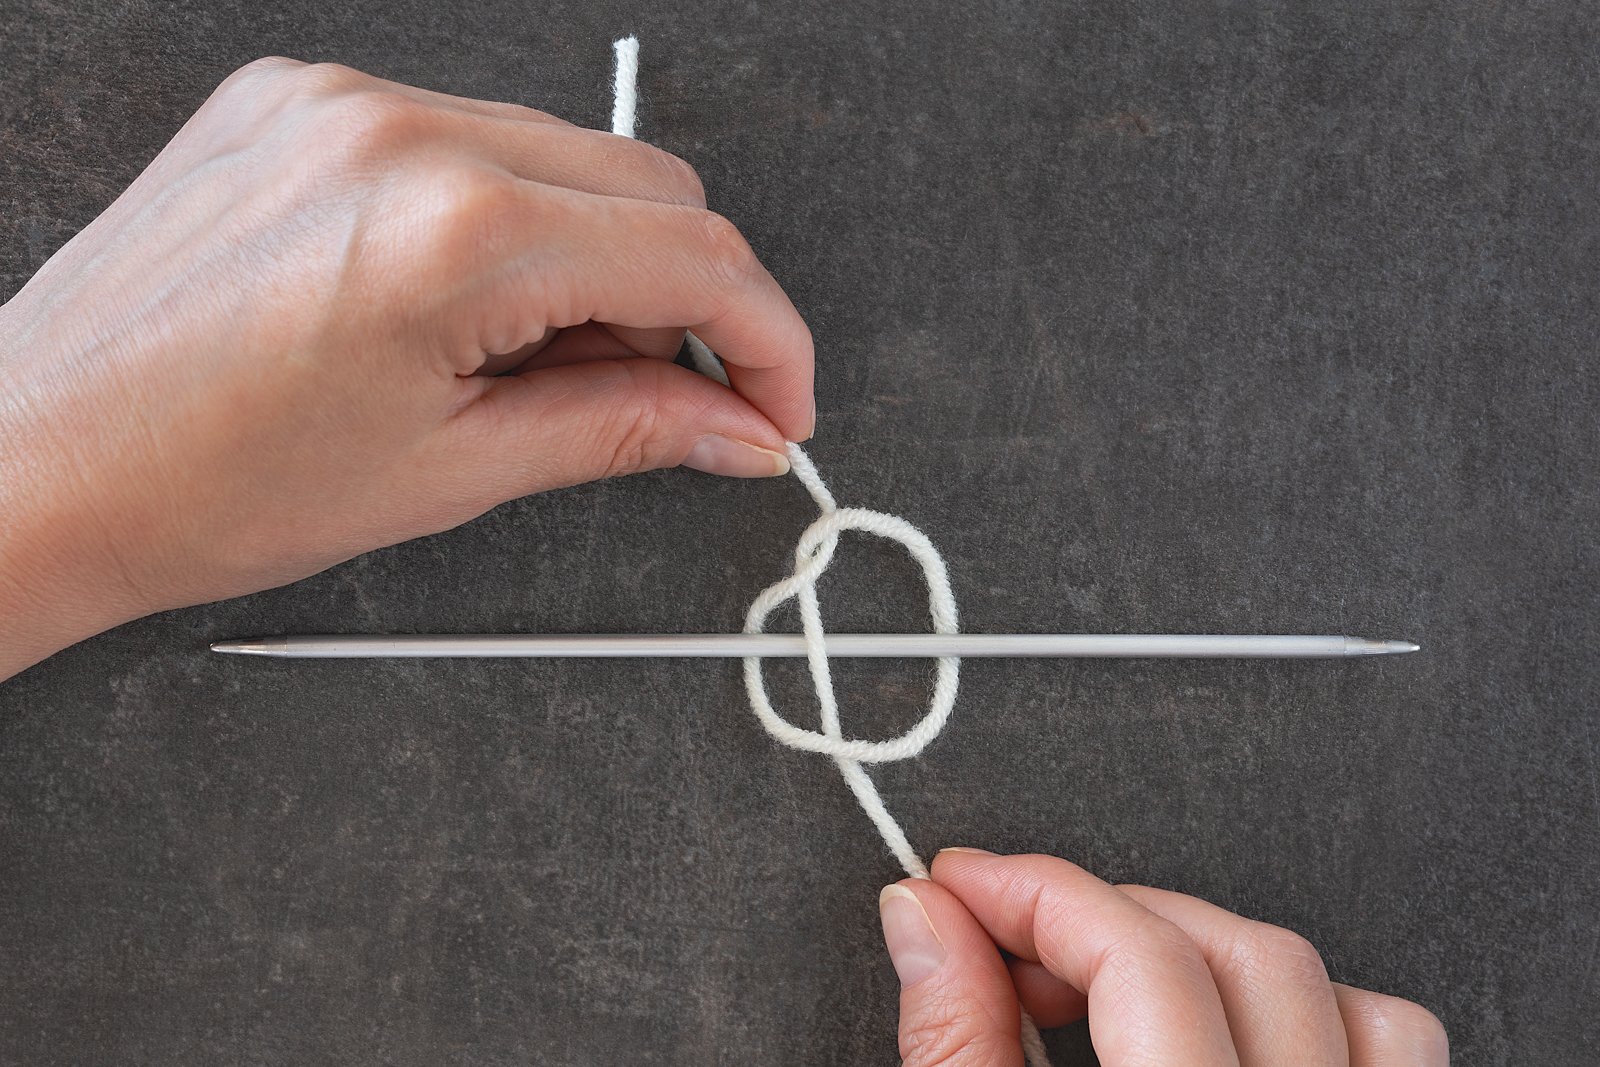
5. Tighten the Knot.
Gently tug on the yarn ends, pulling them in opposite directions.
The loop should tighten around the needle, forming a slip knot. Ensure the knot is secure but not too tight.

6. Position the Needle.
Hold the needle in your right hand with the tip pointing to the left.
Make sure the slip knot is not sitting too tightly on your needle. It should move back and forth easily to allow for smooth casting on or stitching.

You are now ready to begin casting on your stitches or starting your crochet project! The slip knot is an essential foundation, providing the flexibility needed for various knitting and crochet techniques.
If you find this tutorial useful, I would appreciate your support by shopping from my carefully designed patterns.